Overview
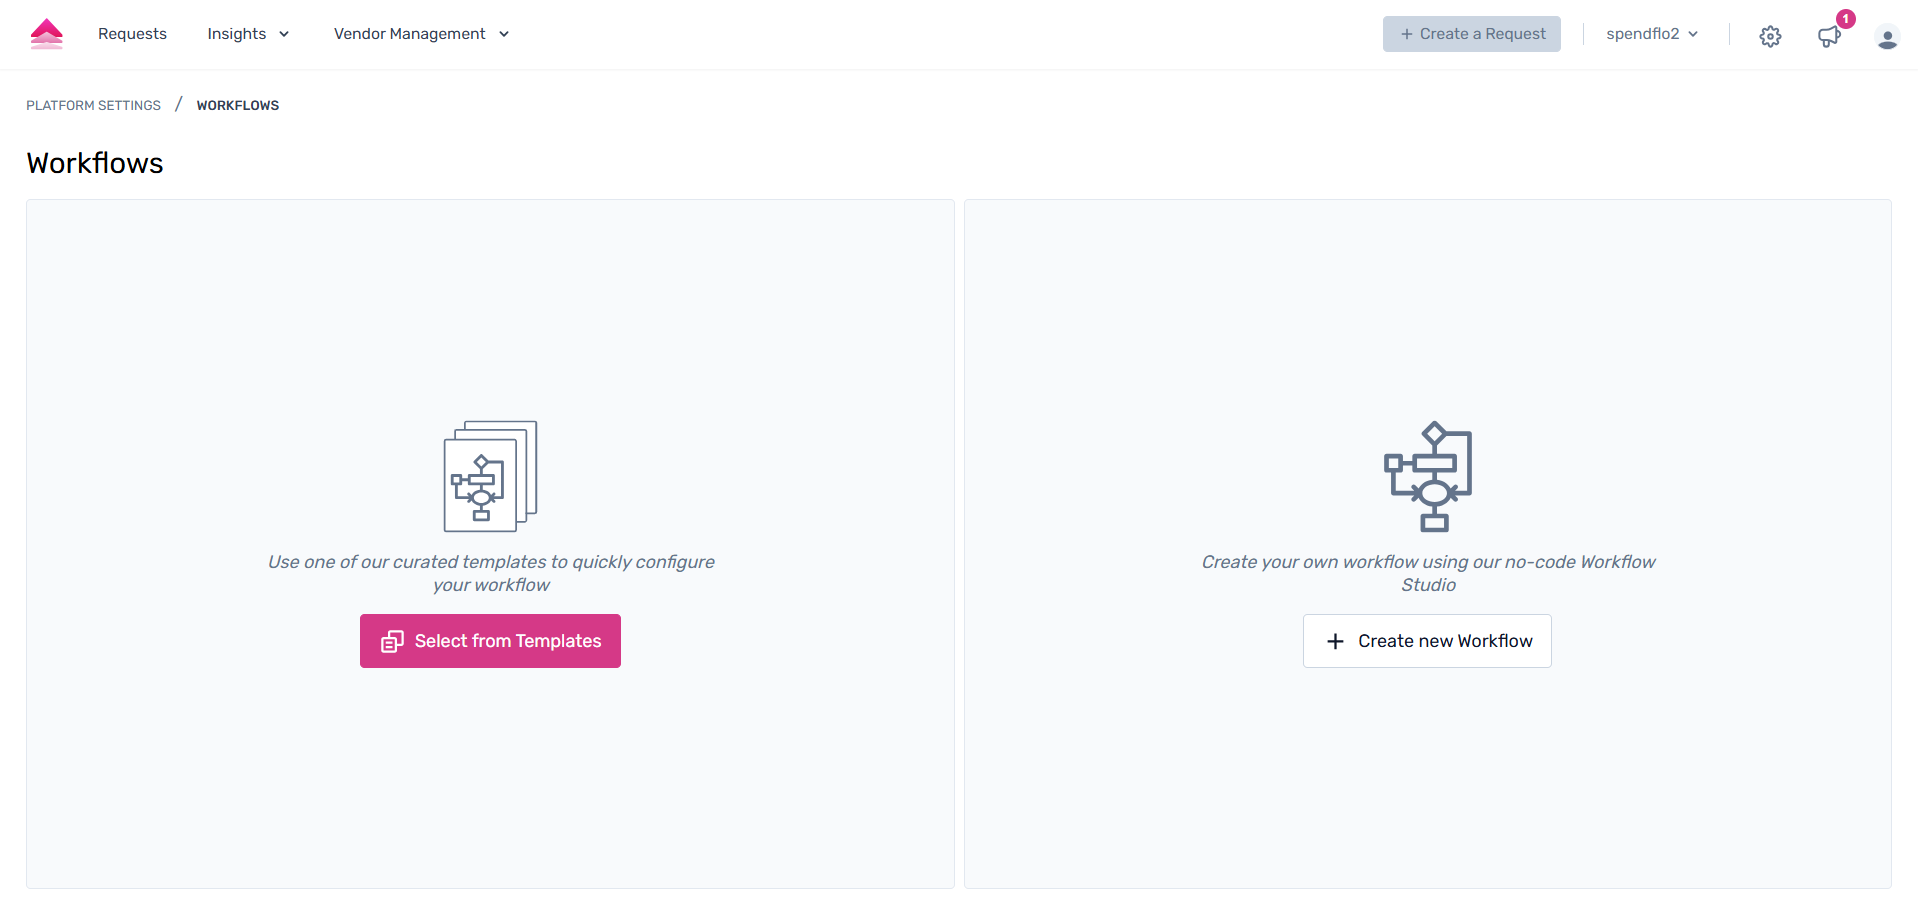
With Spendflo’s Workflows module, admins can create new workflows in two ways: either from scratch, based on business needs, or using a predefined, editable template available within the platform. Here’s a comprehensive guide to creating workflows.
Creating a new workflow
Spendflo allows admins to create highly customizable workflows through an intuitive no-code, drag-and-drop interface. Follow these steps to get started:
Step 1. Go to settings within the Spendflo platform, navigate to the Platform Settings -> Configure Workflows and click on "+Add Workflow" / If its the first time then click on "Create new Workflow"

Step 2. From the pop-up, click on ‘Create a New Workflow’.

Step 3. Fill out the Workflow Details, such as the Workflow Name and Description, and add Tags as required. Admins can create new tags by clicking the tab key on the keyboard once they enter the tag name. Next, click on the 'Create Workflow' button.

Note: Admins also have the option to 'Start over' if required.Step 4. The screen will now be redirected to the Workflow Studio view for adding the next steps.
Creating a new workflow with templates
Admins can add a new workflow with templates. Follow these steps to get started:
Step 1. Go to Settings within the Spendflo platform, navigate to the Workflows module, and click ‘+ Add Workflow.’

Step 2. From the pop-up, click on ‘Select from Templates’.

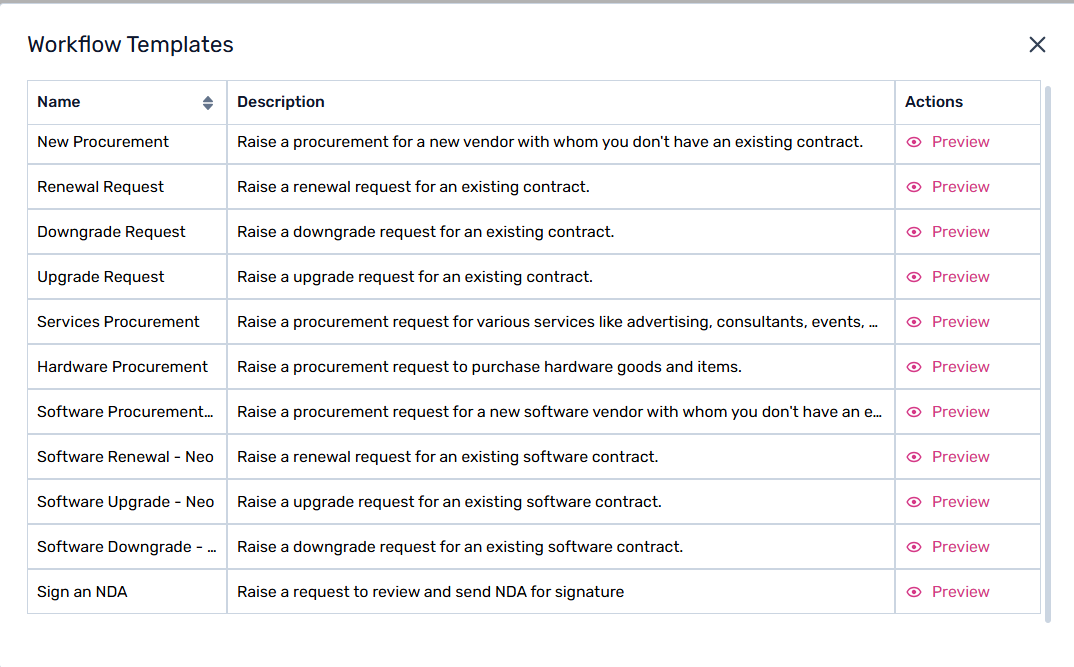
Step 3. Admins can select from the following pre-defined templates:
New Procurement
Renewal Request
Downgrade Request
Upgrade Request
Services Procurement
Hardware Procurement
Software Procurement - Neo
Software Renewal - Neo
Software Upgrade - Neo
Software Downgrade - Neo
Sign an NDA

To learn more about templates, click here.
Step 4. Click on ‘Preview’ to view the end-to-end workflow, then click 'Use Template' to start editing.

These are the ways workflows can be created within the Spendflo platform.
To know more about the next steps in workflow creation, click here.
Was this article helpful?
That’s Great!
Thank you for your feedback
Sorry! We couldn't be helpful
Thank you for your feedback
Feedback sent
We appreciate your effort and will try to fix the article